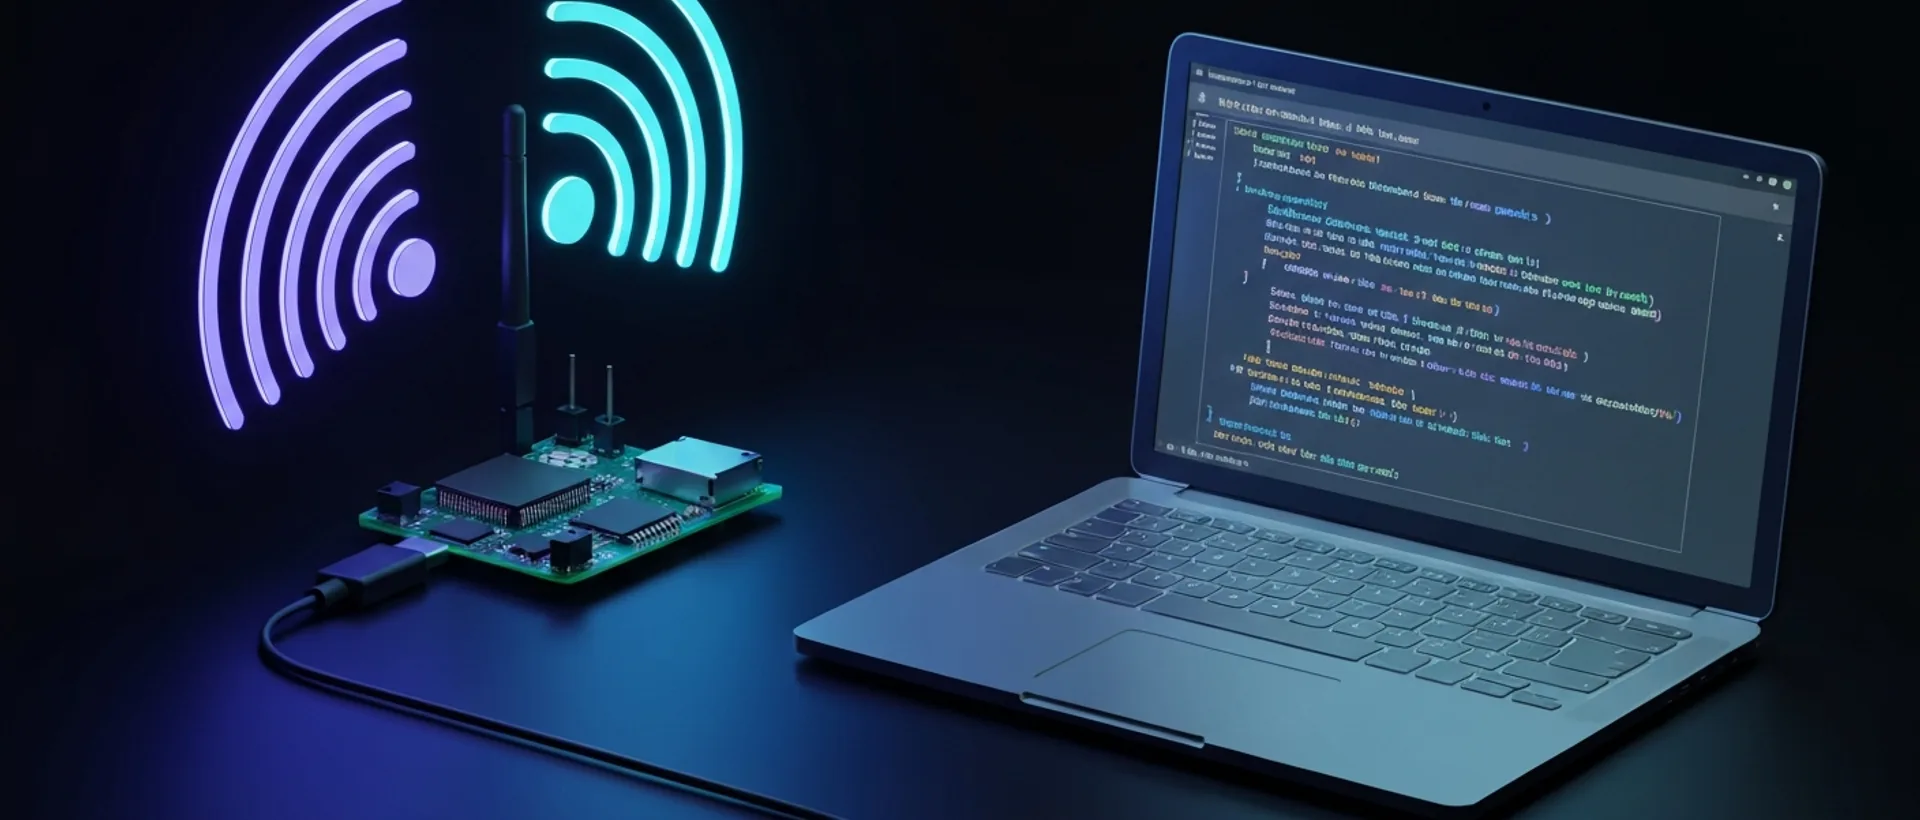
Transforming Your Raspberry Pi Pico W into a USB Wi-Fi Adapter
Hey there, tech enthusiasts! Today we’re going to talk about one of those projects that gets any maker or entrepreneur excited: transforming your Raspberry Pi Pico W into a USB Wi-Fi adapter. Sounds like magic, right? But I promise you, it’s not! It’s pure engineering with a touch of Brazilian creativity.
For those unfamiliar with it, the Raspberry Pi Pico W is a microcontroller that arrived with a bang. Launched on June 30, 2022 [embarcados.com.br], it’s the souped-up version of the original Pico, featuring integrated Wi-Fi 4 (802.11n) and Bluetooth 5.2, all thanks to the Infineon CYW43439 chip [embarcados.com.br]. And the best part? It’s super affordable, boasts a dual-core ARM Cortex-M0+ processor running at up to 133MHz, 264KB of SRAM, and 2MB of Flash. In other words, a digital Swiss Army knife.
The idea here is to use this board to upgrade the connectivity of devices that were born without Wi-Fi or are “a bit wonky” in that department. Just imagine: that older computer you have at home, an IoT project needing a more stable connection, or even as a portable access point for your electronic hacks. The versatility is really cool! We’re going to program the Pico W to act both as a network client (connecting to an existing Wi-Fi) and as an access point (creating its own Wi-Fi), and the cherry on top is making it “lend” this connection via USB.
Programming in MicroPython makes life easier for those who don’t want to dive headfirst into C/C++, making this project accessible even for beginners. This functionality is, in my humble opinion, a masterstroke by the Raspberry Pi Foundation, democratizing access to personalized network solutions. After all, who doesn’t love a good DIY project that solves a problem elegantly and affordably?
Essential Preparation: Hardware and Software for the Project
Before you go running around and plugging your Pico W into just anywhere, let’s get organized. For this endeavor, you’ll need a basic but essential kit. First, of course, the Raspberry Pi Pico W itself. Without it, we’re not going anywhere, right? Second, a good micro-USB data cable. And here’s a friendly tip: make sure it’s a data cable, not just a charging one. I once wasted a lot of time thinking the board was faulty, when in reality, it was just the cable not transmitting data!
Third, a computer with internet access. It can be Windows, macOS, or Linux; the Pico W is pretty democratic in that sense. The important thing is to have somewhere to write and upload the code to the board.
Now, on the software side, things get a little trickier, but nothing a good cup of coffee and some patience can’t solve. The heart of our programming will be MicroPython. It’s a compact implementation of Python 3, optimized to run on microcontrollers like the Pico W. Raspberry Pi Pico W programming can be done in MicroPython or C/C++ [embarcados.com.br], but for this type of project, MicroPython is much more agile and intuitive, especially if you already have some familiarity with Python.
The first step is to ensure that the MicroPython firmware is installed on your Pico W. Without it, we can’t even dream of setting up Wi-Fi. Installation is super easy: you download the UF2 file for MicroPython, connect the Pico W to your PC while holding the BOOTSEL button, and drag the file onto it [makerhero.com]. It’s like copying a file to a flash drive, no mystery.
And for writing and uploading code? I strongly recommend Thonny IDE. It’s a Python development environment that has native support for MicroPython and the Pico W. With it, you can connect to the board, view the console, upload files, and debug code in a way that even your grandma could manage (if she were a programmer, of course!). It’s lightweight, to the point, and perfect for beginners or those who want agility.
[!CALLOUT tipo=“dica”] Before starting any project, always check the MicroPython firmware version on your Pico W and update it to the latest. This ensures you’ll have access to all functionalities and bug fixes, especially for the Wi-Fi module.
With all that in hand, we’re ready to dive into the code and make the magic happen. If you’ve ever felt lost with other platforms, I guarantee that with the Pico W and MicroPython, the learning curve is much smoother. It’s almost like learning to ride a bike, but with the thrill of connecting things to the internet!
Step-by-Step Guide: Programming the Pico W for USB Wi-Fi
It’s time to get our hands dirty and turn this little piece of silicon into a proper USB Wi-Fi adapter. This is where theory turns into practice, so pay attention to the steps!
You might be asking: “But the video says ‘no Wi-Fi,’ and we want Wi-Fi!” And you’re right, my dear reader! But this video is a great starting point for understanding the versatility of USB communication with Raspberry Pi devices (and the Pico W is part of that family). It demonstrates how a Raspberry Pi can be configured to communicate with a PC via USB, acting as a network device. Now, our mission is to take this a step further: the Pico W will use its own Wi-Fi connectivity and then share that connection via USB. It’s the basis of USB communication that interests us here, before adding the Wi-Fi layer.
Step 1: MicroPython and Thonny Installation
If you followed the previous section, you should already have Thonny installed and MicroPython firmware on your Pico W. But let’s quickly recap to be sure:
- Download MicroPython firmware: Go to the official Raspberry Pi website and look for the
UF2file for the Pico W (usually something likerp2-pico-w-*.uf2). - Connect the Pico W: Hold the
BOOTSELbutton on the board and connect it to your PC via a micro-USB cable. A removable disk drive calledRPI-RP2should appear in your file explorer. - Drag and Drop: Copy the
UF2file you downloaded to thisRPI-RP2drive. The Pico W will automatically reboot with MicroPython installed. It’s that simple, no headaches [makerhero.com]! - Configure Thonny: Open Thonny, go to
Tools > Options > Interpreterand selectMicroPython (Raspberry Pi Pico). Choose the correct COM port (if you don’t know, try one and see if it connects).
Step 2: Configuring as a Wi-Fi Client
Now that your Pico W speaks MicroPython, let’s teach it to connect to an existing Wi-Fi network. For this, you’ll need the SSID (network name) and password.
import network
import time

# Your Wi-Fi network details
SSID = 'Your_Wi-Fi_Network_Name'
PASSWORD = 'Your_Wi-Fi_Password'

# Initialize the WLAN interface in station (client) mode
wlan = network.WLAN(network.STA_IF)
wlan.active(True) # Activate the interface

print(f'Connecting to network {SSID}...')
wlan.connect(SSID, PASSWORD)

# Wait for the connection to be established
max_attempts = 10
attempts = 0
while not wlan.isconnected() and attempts < max_attempts:
    print(f'Attempting to connect... ({attempts+1}/{max_attempts})')
    time.sleep(1)
    attempts += 1

if wlan.isconnected():
    print('Wi-Fi connection established!')
    print('Network configuration:', wlan.ifconfig())
else:
    print('Wi-Fi connection failed after multiple attempts.')
    print('Check SSID and password.')

# You can add more code here to test the connection (e.g., ping)
This script is the foundation for turning the Pico W into a network adapter. It uses MicroPython’s network module to manage the Wi-Fi interface. Recent tutorials demonstrate exactly how to set up Wi-Fi on the Raspberry Pi Pico W using MicroPython, allowing the board to connect to networks and interact with the internet [randomnerdtutorials.com]. It’s the first step for it to “see” the outside world.
Step 3: Configuring as an Access Point (Hotspot)
What if you want the Pico W to create its own Wi-Fi network, acting as a hotspot? This is super useful for projects that need a local network, or to share internet from a source (like a 4G modem connected to the Pico W) with other devices.
import network
import time

# Your hotspot details
AP_SSID = 'PicoW_Hotspot'
AP_PASSWORD = 'secure_password_here' # Minimum 8 characters

# Initialize the WLAN interface in access point (AP) mode
ap = network.WLAN(network.AP_IF)
ap.active(True)
ap.config(essid=AP_SSID, password=AP_PASSWORD, authmode=network.AUTH_WPA_WPA2_PSK)

print(f'Access Point "{AP_SSID}" activated!')
print('Waiting for connections...')

# Loop to keep the AP active and optionally show connected clients
while True:
    # Optional: Monitor connected clients
    # clients = ap.status('stations') # This function may vary or not be available in some versions
    # if clients:
    #     print(f'Connected clients: {len(clients)}')
    # time.sleep(5)
    pass # Keeps the AP active
With this code, your Pico W becomes a pocket-sized router. Super cool to take anywhere and have a local network, right?
Step 4: Integrating USB Adapter Functions
This is where we connect the two ends: the Wi-Fi connection (either as a client or AP) and the USB port. The Pico W can be configured to act as a USB host [peppe8o.com], which already opens up a range of possibilities, such as reading USB drives. But for it to share the network connection via USB, things get a bit more complex and depend on the operating system of the computer you’re using.
The idea is that the Pico W, once connected to the internet via Wi-Fi, “emulates” a USB network device (like a USB Ethernet adapter) for your computer. This usually involves configuring a “USB gadget” on the Pico W side and installing specific drivers on the host PC.
[!CALLOUT tipo=“atenção”] USB network emulation (or USB gadget) may require specific drivers on the host PC, and the implementation can vary between operating systems (Windows, macOS, Linux). It’s not a plug-and-play process for all cases and may require additional research depending on your scenario.
Unfortunately, MicroPython alone doesn’t offer a direct and simple API for this USB network emulation as is available with the full Raspberry Pi OS on a larger Raspberry Pi (which can use configfs for this). For a complete “USB Wi-Fi adapter” solution where the Pico W acts as a USB adapter that provides Wi-Fi to the PC, you would probably need a more complex software layer or even program in C/C++ and develop a custom driver or use specific libraries.
However, what we can do more directly with MicroPython is use the Pico W to create a network proxy or a simple gateway. That is, it connects to the internet via Wi-Fi, and if your PC is connected to the Pico W (in the AP mode we configured in Step 3), the Pico W can forward traffic. It’s not exactly a “USB Wi-Fi adapter” in the traditional sense (where the PC sees the Pico W’s Wi-Fi as its own adapter), but it’s a way to share connectivity using the board as an intermediary. This is great for testing and scenarios where you control both sides of the connection. It’s a fancy hack, but it works!
Advantages and Limitations: Pico W as a Wi-Fi Adapter
Alright, we’ve seen that the Pico W can dance to the network’s tune. But, as with any good recipe, there are pros and cons. Let’s be realistic about what our little marvel can do and where it struggles.
The advantages of using the Pico W as a Wi-Fi adapter are quite clear. First, the cost. It’s incredibly cheap, making it accessible to anyone who wants to experiment or build a project on a tight budget [robocore.net]. For beginners or those who need dozens of them, this makes a huge difference.
Second, its compact size. It’s tiny, which means you can embed it almost anywhere. Think of IoT projects where space is at a premium, or a discreet Wi-Fi adapter for an old device. It’s proof that size doesn’t always matter.
Third, programming flexibility. With MicroPython, you have full control over how the network operates. It’s not just a “plug and play” adapter; it’s a “plug, play, and customize” adapter. Want a hotspot with a funny name? Want a client that only connects at certain times? Want one that sends an alert if the connection drops? With the Pico W, the sky’s the limit (or at least your Python knowledge). This customization capability is a huge differentiator compared to generic commercial adapters.
And we can’t forget energy efficiency. Compared to the ESP32, for example, the Pico W offers greater energy efficiency [thinkrobotics.com]. This is a key point if you’re thinking about battery-powered applications, where every milliampere counts. I’ve seen people make wireless weather stations that last months on a single charge because of this feature.
Now, for the limitations, because it’s not all sunshine and roses. The main one is performance. The Pico W was not designed to be a high-performance Wi-Fi adapter that will compete with those massive, expensive USB adapters promising gigabit speeds. It’s more suited for tasks requiring lower bandwidth, such as sending sensor data, controlling devices, or as an emergency network adapter. Don’t expect to stream 4K video with it, okay? If you need maximum speed, it’s better to invest in a commercial adapter.
Another point worth noting is Bluetooth support. Although the Pico W comes with integrated Bluetooth 5.2 [embarcados.com.br], software support for this functionality is still limited or was disabled in early versions due to regulatory issues. So, if your project heavily relies on Bluetooth, the ESP32 might still have an advantage in this regard, as it has a more mature ecosystem for full Bluetooth functionalities [thinkrobotics.com].
And finally, a minor annoyance: the board doesn’t come with header pins soldered from the factory [robocore.net]. For some applications, you’ll have to grab your soldering iron, which can be a small obstacle for those not very familiar with electronics. But hey, soldering is a skill every maker should have, so treat it as a challenge!
In summary, the Pico W as a Wi-Fi adapter is a powerful and accessible tool for custom projects and scenarios where flexibility and low cost are more important than raw speed. It’s proof that, sometimes, the Brazilian way of doing things is the best solution!
Projects and Future: Pico W USB Wi-Fi in 2026
We’ve already explored the present and the challenges, but what about the future? Where can the Raspberry Pi Pico W with its USB Wi-Fi capability take us? In my opinion, the potential is immense, and we’re just scratching the surface of what this little board can do.
Beyond a simple adapter, the Pico W can be the central piece of much more complex projects. Think of it as a low-cost IoT gateway. It collects data from sensors, processes it locally (thanks to its dual-core processor), and sends everything to the cloud via Wi-Fi, or shares it with other devices through its USB connection. This is gold for home automation, environmental monitoring, or even in small industries.
Another cool application is as a portable network monitor. You can program the Pico W to scan Wi-Fi networks, identify connected devices, or even analyze traffic (with proper permissions, of course!). Connected via USB to a laptop, it becomes a pocket-sized network diagnostic tool. Imagine yourself at an event, with a gadget that gives you all the information about the local Wi-Fi network. It’s almost a superpower, right?
And in home automation systems that need flexible connectivity, the Pico W shines. It can be a link between older devices without Wi-Fi and your modern network, or even a universal remote control via the web. The possibilities are endless, and the developer community is already exploring a lot of brilliant ideas.
Looking ahead to 2026, I’d venture to say that we’ll see “pico w usb wifi 2026” with more optimized libraries and advanced usage examples. The Raspberry Pi community is super active, and MicroPython is constantly evolving. New features and performance improvements are regularly released, meaning the Pico W is only likely to become more capable and easier to use. I wouldn’t be surprised if more robust frameworks for USB network emulation emerged, making this process even more plug-and-play.
For those who enjoy this universe, the tip is to keep an eye on MicroPython news and the Raspberry Pi community forums. There’s always someone with a new idea or a creative solution to a problem. The potential of the Pico W as a programmable network device is only just beginning to be explored, and I, for one, am eager to see the innovations that will come in the next few years. It’s like having a team of engineers in your hand, ready for any challenge!
Sources
- https://www.robocore.net/placa-raspberry-pi/raspberry-pi-pico-w — Raspberry Pi Pico W ↩
- https://www.makerhero.com/blog/primeiros-passos-raspberry-pico-w/ — First steps with Raspberry Pi Pico W ↩
- https://randomnerdtutorials.com/raspberry-pi-pico-w-wi-fi-micropython/ — Raspberry Pi Pico W Wi-Fi with MicroPython ↩
- https://embarcados.com.br/nova-raspberry-pi-pico-w-agora-com-wifi-e-bluetooth/ — New Raspberry Pi Pico W now with WiFi and Bluetooth! ↩
- https://peppe8o.com/getting-started-with-wifi-on-raspberry-pi-pico-w-and-micropython/ — Getting Started With WiFi On Raspberry Pi Pico W And MicroPython ↩
- https://thinkrobotics.com/blogs/learn/raspberry-pi-pico-w-vs-esp32-for-iot-the-ultimate-2025-comparison-guide — Raspberry Pi Pico W vs ESP32 for IoT: The Ultimate 2025 Comparison Guide ↩
Read next
- Turn Your Pico W into a USB Wi-Fi Adapter in 2026
- Integrate AI in WordPress 2026: Complete & Practical Guide
- AI in Excel 2026: Essential Guide to Smart Automation
Ready to scale this idea?
Narratron turns topics like this into retention-optimized YouTube scripts in under 2 minutes — magnetic hook, structure, complete SEO, timestamped description and thumbnail prompt ready to ship. 50 free credits, no card required.