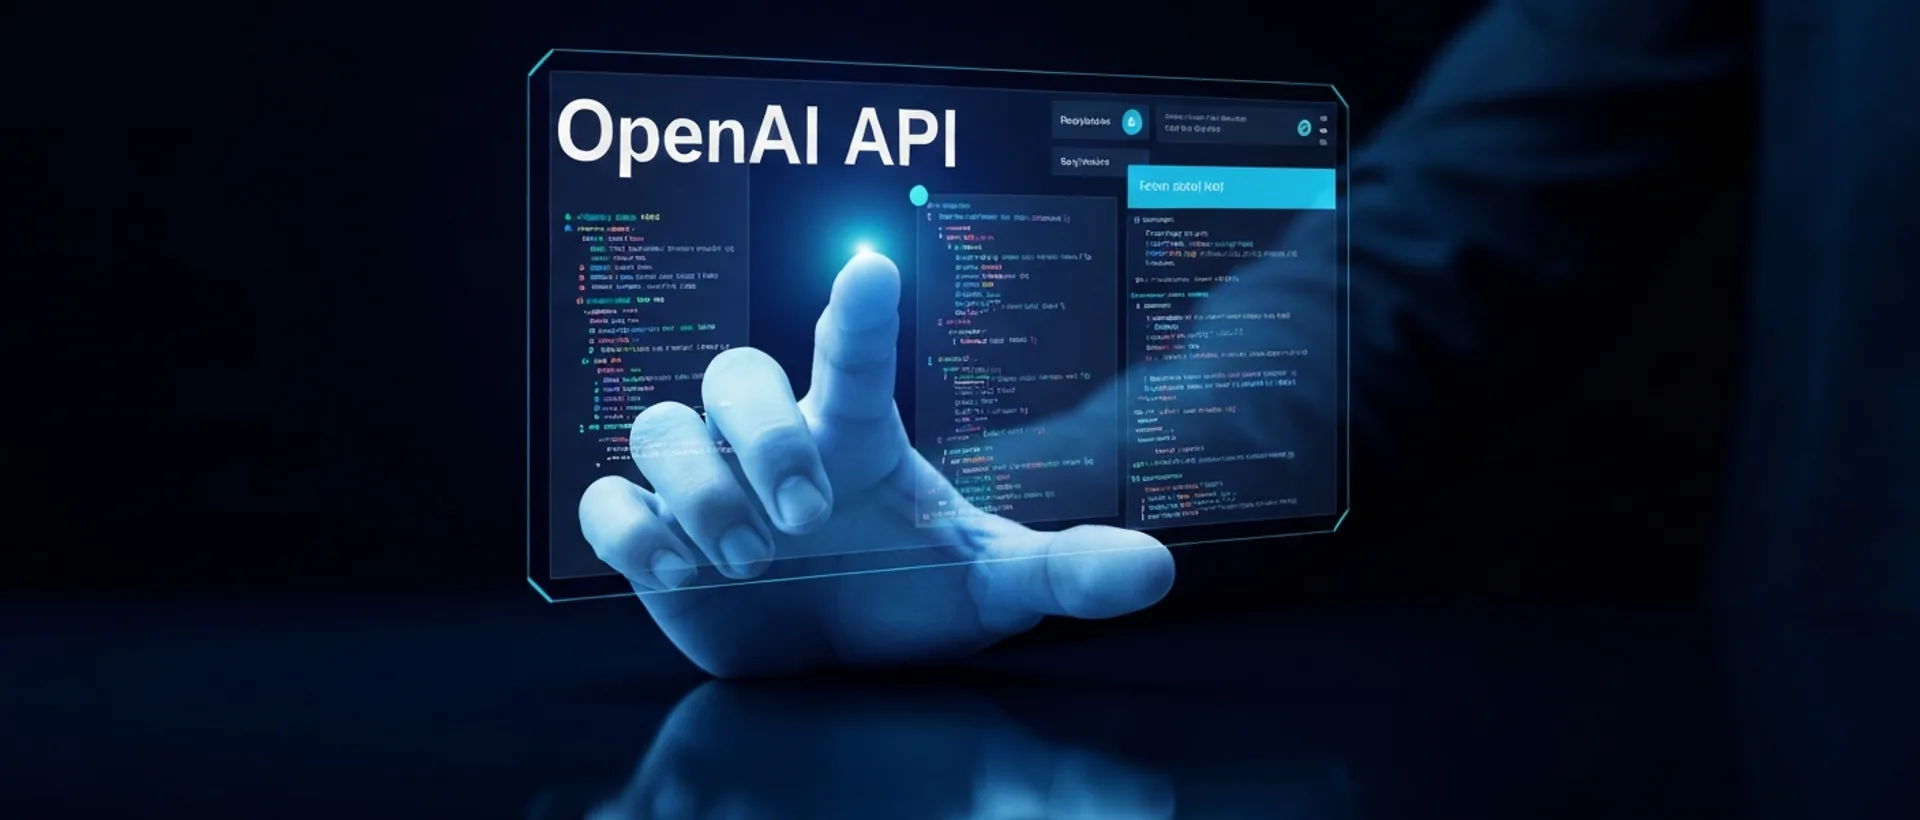
To start using the OpenAI API in 2026, the first step is simple but crucial: you need to create an account on the official OpenAI platform and then get your secret API key. This key is like the master password to access all the incredible models they offer. After that, we choose the programming language we like best, like Python, and install the official OpenAI client library, which makes our lives a whole lot easier.
Authentication with the OpenAI API works with this secret key, so, hey, a friendly piece of advice: keep it super secure and never, under any circumstances, leave it exposed in your public code, like in a Git repository. With the key properly configured, you can already start sending your requests to the models, like the famous GPT-4 for text or DALL-E for images, and watch the magic happen. This OpenAI API for beginners guide will hold your hand, from initial setup to some very practical examples of how to use the OpenAI API 2026 in your daily developer life.
I confess that, at first, I was terrified of dealing with APIs, I thought it was out of this world. But it’s easier than making a brigadeiro, I swear! The most “annoying” part is just this initial setup. After that, it’s all joy. And, speaking of joy, there’s nothing more gratifying than seeing your code “think” and generate something new, right? It’s like when you assemble an IKEA furniture piece and there are leftover parts, but it still works!
Understanding the OpenAI API: Models and Functionalities
The OpenAI API is like an all-you-can-eat buffet of artificial intelligence, offering a bunch of super powerful models. We have GPT-4, which is a whiz at conversation and text generation, and DALL-E, which transforms ideas into images in a way that seems like magic. Each of these models has its peculiarities and serves a different purpose. Therefore, choosing the right model for your project is fundamental, and not just for its capability, but also for its cost and performance.
The function of the OpenAI API is precisely this: to provide a way for developers to integrate these advanced AI capabilities into their own programs without having to become data scientists. You know, it’s like having a team of AI geniuses working for you, but without having to pay their salaries one by one. The examples of OpenAI API usage are endless: you can create an automatic text summarizer, a translator that understands context, a content generator that never gets tired, and even build some very complex chatbots that truly converse.
I think the secret here is not to be afraid to dig into the official documentation. Many people turn up their noses, but the truth is that it’s your best friend for understanding all the parameters of each model and getting the most out out of each request. For me, documentation is like a cake recipe: if you don’t follow it, the result can be a disaster, or at the very least, not as tasty as it could be. And OpenAI has been putting a lot of effort into it.
OpenAI API Step-by-Step Tutorial: Integrating with Python
Alright, now that we know what it is and what it’s for, let’s get our hands dirty and integrate the OpenAI API with Python. It’s easier than it looks, I promise!
- Environment Setup and Library Installation: First, open your terminal or command prompt and install the official OpenAI library for Python. Just type pip install openai. If you use a virtual environment, even better, so you don’t mess up other things.
- API Key Retrieval and Configuration: Go to the OpenAI website, in your account settings area, and generate your API key. Then, configure it as an environment variable in your operating system. For example, on Linux/macOS, it’s export OPENAI_API_KEY='your_key_here'. For quick tests, you can put it directly in the code, but for production, environment variables are everything!
- Making Your First API Call: With the key configured, it’s time to make the first request. We’ll use the openai.chat.completions.create method to talk to GPT-4. It’s the most versatile.
- Processing the API Response: The API will return a JSON. We need to extract the generated text from it. And don’t forget to handle errors, because, you know, the internet goes down, the API might “glitch”, and we don’t want our program to crash badly.
- Practical Usage Examples: Now just let your imagination run wild! Experiment with different prompts to generate code, summarize huge texts, or even create responses for a very simple chatbot. The beauty is in this experimentation.
import openai
import os

# Make sure your API key is set as an environment variable
# Ex: export OPENAI_API_KEY='your_key_here'
# or define directly for testing (NOT RECOMMENDED IN PRODUCTION)
# openai.api_key = "sua_chave_aqui"

try:
    # For 2026, the access method might be slightly different, but the concept is the same.
    # Assuming the interface remains similar.
    response = openai.chat.completions.create(
        model="gpt-4o", # Or another model available in 2026, like gpt-4
        messages=[
            {"role": "system", "content": "You are a helpful and creative assistant."},
            {"role": "user", "content": "Give me a blog post idea about how to use the OpenAI API 2026."}
        ],
        max_tokens=150
    )
    print(response.choices[0].message.content)

except openai.APIError as e:
    print(f"Error from OpenAI API: {e}")
except Exception as e:
    print(f"An unexpected error occurred: {e}")
A common error is forgetting to set the API key or trying to use a model that no longer exists or isn’t available for your account. I’ve been there and spent about 10 minutes scratching my head until I realized I had typed the model name incorrectly. It happens in the best of families!
Price, Limits, and Best Practices for the OpenAI API in 2026
When it comes to the OpenAI API 2026 price, it works based on tokens, both what you send (input) and what the API returns (output). The cost varies significantly depending on the model you’re using and the complexity of your request. More advanced models, like GPT-4, are more expensive, of course. Therefore, it’s super important to keep an eye on costs so you don’t get a surprise on your bill at the end of the month. I’ve seen a friend of mine get such a shock that it seemed like they’d bought a new car, from using the API so much without monitoring!
OpenAI API usage limits are also an important point. They include restrictions on how many requests you can make per minute and how many tokens you can process in the same period. If your application starts to boom, you can request an increase in these limits, but they usually require a good usage history before granting more access. It’s like “credit”: they only trust you if you’ve already proven you’re a good payer.
[!CALLOUT tipo=“dica”] Monitor your OpenAI usage dashboard regularly to avoid bill surprises. Set up consumption alerts so you don’t spend more than expected.
To ensure your application is robust, some OpenAI API best practices are essential. First, treat your API key as if it were your social security number: super sensitive information. Use environment variables or secret managers; never leave it directly in the code or in public repositories. Second, implement retry mechanisms with exponential backoff. This means that if the API fails or hits a rate limit, your program tries again, but with an increasingly longer waiting period, so as not to overload it. It’s a polite way to insist. And finally, optimize token usage: be concise in your prompts and, if possible, cache results that don’t change frequently; this saves money and makes everything faster.
Building a Simple Chatbot with the OpenAI API
Learning how to create a chatbot with the OpenAI API is one of the coolest and most straightforward uses. The magic begins with the ‘system prompt’, which is basically your bot’s instruction manual. It defines the persona and behavior of your virtual assistant. For example, you can say “You are a helpful and friendly assistant who answers technology questions with a touch of humor”. This already makes a huge difference in the interaction.
For conversations, we use models like gpt-4 or gpt-3.5-turbo. The trick is to maintain a message history. Every time the user speaks, you add their message and your previous response to the history and send everything back to the API. This way, the chatbot can understand the conversation’s context and doesn’t start talking nonsense. It’s like remembering what we talked about yesterday, you know? Without context, the conversation turns into a jumbled mess.
The ‘system prompt’ is the heart of your chatbot. It guides the bot’s tone, style, and even its base knowledge. If you want a bot that’s an expert in Minas Gerais cuisine, that’s where you’ll instruct it. And one thing many people forget is content moderation. It’s important to filter user inputs and the bot’s own outputs to avoid inappropriate or offensive responses, ensuring a safe environment for everyone. Nobody wants a bot that talks nonsense, right? It’s like a family barbecue, you have to have common sense!
Alternatives and Future of the OpenAI API for Developers
Even with the OpenAI API being the current darling, it’s good to know that there are very robust OpenAI API alternatives on the market. We have Anthropic Claude, which is gaining ground, Google Gemini, which is a heavyweight, and even open-source models like Llama, which allow for greater control. Each has its strengths and weaknesses, like a soccer team, each has its fans. The choice of the best API for developers will depend heavily on what your project needs: cost, performance, whether privacy is super important, or if you need very specific features.
The generative AI landscape is always changing, it’s like the weather in São Paulo. Almost every day a new feature emerges, a more powerful model, both from OpenAI and its competitors. Therefore, staying tuned to updates and participating in the developer community is vital. That’s where we get the best tips, the tricks the documentation doesn’t tell you, and discover what’s coming next.
My bet for 2026 is that the OpenAI API will continue to be a powerful tool, but with even deeper integrations and highly specialized models for every type of industry, from healthcare to agribusiness. Competition will increase, which is great for us developers, because it means more options and more competitive prices. So, if you want to stay relevant and build amazing things, understanding how to use the OpenAI API 2026 and its alternatives is knowledge worth its weight in gold.
FAQ
What is the function of the OpenAI API?
The function of the OpenAI API is to provide programmatic access to advanced artificial intelligence models, such as GPT for text and DALL-E for images. It allows developers to integrate AI capabilities into their own applications, such as chatbots, content generators, and analysis tools.
How to integrate the OpenAI API in Python?
To integrate the OpenAI API in Python, you need to install the openai library via pip, obtain your API key from the OpenAI website, and configure it in your environment. Then, use the library’s methods, such as openai.chat.completions.create, to send requests to the models and process the responses.
What is the price of the OpenAI API in 2026?
The price of the OpenAI API in 2026 is calculated based on token consumption (input and output), varying according to the AI model used. More advanced models like GPT-4 generally have a higher cost per token than models like GPT-3.5 Turbo, making it essential to monitor your usage on the OpenAI dashboard.
What are the OpenAI API usage limits?
OpenAI API usage limits are restrictions imposed by the platform to ensure service stability and fairness. They include a maximum number of requests per minute (RPM) and a token limit per minute (TPM), which can be adjusted for accounts with higher demand upon request.
Is it possible to create a chatbot with the OpenAI API?
Yes, it is perfectly possible to create a chatbot with the OpenAI API, using language models like GPT-4 or GPT-3.5 Turbo. You can define the chatbot’s personality with a ‘system prompt’ and maintain a conversation history so that it responds contextually, simulating human interaction.
Ready to scale this idea?
Narratron turns topics like this into retention-optimized YouTube scripts in under 2 minutes — magnetic hook, structure, complete SEO, timestamped description and thumbnail prompt ready to ship. 50 free credits, no card required.